
After a long day, it’s nice to have a wholesome snack waiting for you. These granola bars come together easily, making them an excellent choice for busy weeknights, relaxed weekends, or even quiet moments when you need a little something to munch on. With a balance of flavors and textures, they deliver comfort without unnecessary complication. Their versatility means you can enjoy them at home, pack them for a picnic, or share them during gatherings. Let’s dive into this simple recipe that invites you to the kitchen with ease.
Why You’ll Love This Almond Butter Granola Bars
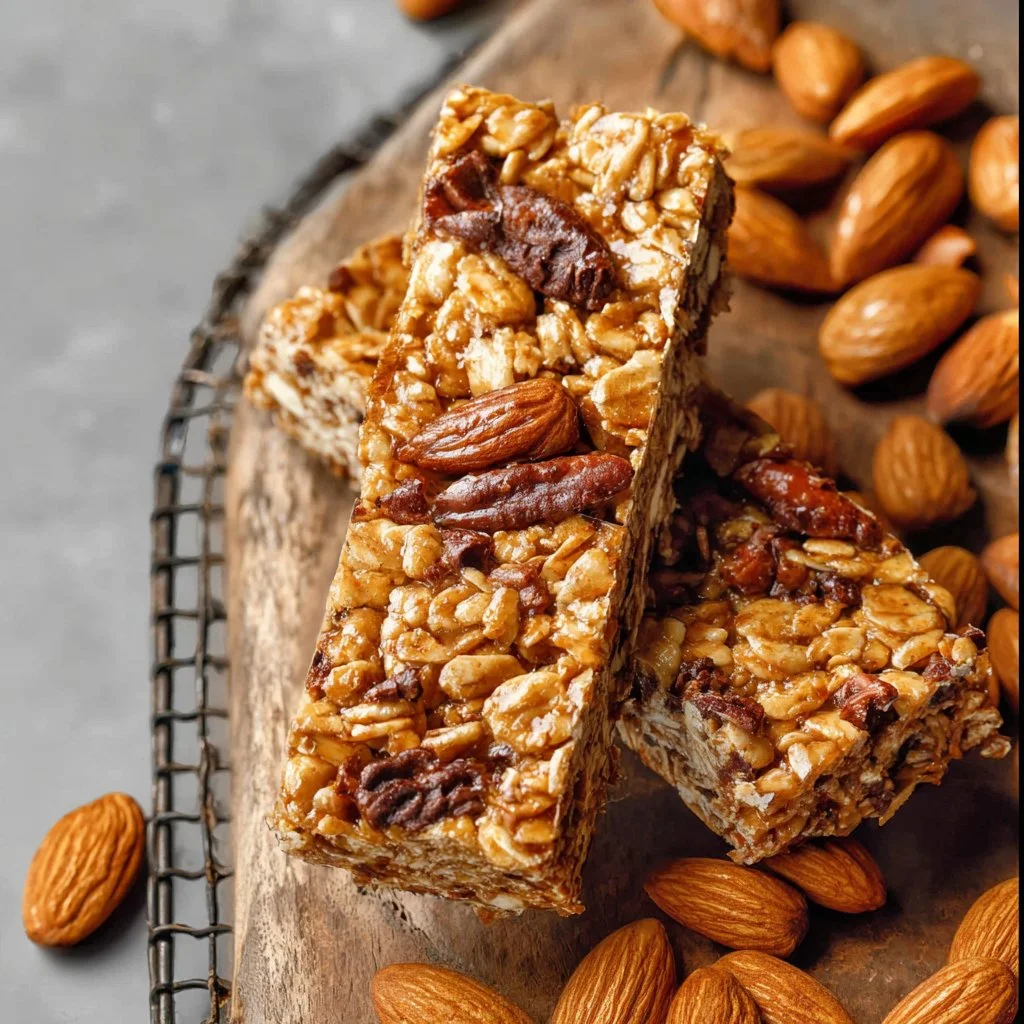
These Almond Butter Granola Bars offer reliability in both ease and flavor. With a perfect balance of sweetness from the honey or maple syrup combined with the hearty texture of oats and nuts, they make for a comforting snack. Practical for everyday use, they can be enjoyed at breakfast or as a nutritious treat anytime throughout the day, fitting seamlessly into your schedule.
Kitchen Tools You’ll Need
- Mixing bowl
- Baking dish
- Spoon or spatula
- Knife (for chopping)
Ingredients
- 1 ¾ cups rolled oats (provides structure and chewiness)
- ¾ cup whole almonds (adds crunch and healthy fat)
- ⅔ cup almond butter (binds ingredients, adds richness)
- ⅓ cup honey or maple syrup (sweetens and adds moisture)
- 3 tablespoons coconut oil or butter, melted (helps bind and adds flavor)
- ⅓ cup semi-sweet chocolate, chopped or chips (contributes sweetness and luxury)
- melted chocolate (optional, for drizzling)

How to Make Almond Butter Granola Bars
Step 1. Begin by combining the rolled oats and whole almonds in a mixing bowl. Stir them together, allowing the nuts to mingle with the oats evenly. This mix will be the base of your granola bars, providing both heartiness and texture.
Step 2. In a separate bowl, mix the almond butter with honey or maple syrup. Stir until smooth and well combined. This combination will offer moisture and sweetness, ensuring the bars hold together well while providing a rich flavor.
Step 3. Pour the melted coconut oil or butter into the almond butter mixture. Mix thoroughly until fully integrated and smooth. This step is essential as it will help bind all the ingredients while adding a hint of richness to the final product.
Step 4. Combine the wet mixture with the dry ingredients. Use a spoon or spatula to fold the ingredients together until everything is evenly coated. Watch for the mixture transforming into a sticky, cohesive batch, indicating it’s ready for the next step.
Step 5. Prepare your baking dish by greasing it lightly or lining it with parchment paper. Press the granola mixture firmly into the dish in an even layer. The mixture should feel compacted, which will help the bars hold their shape after baking.
Step 6. If you like, you can melt the chocolate separately while the mixture is in the baking dish. After your bars are baked and cooled, drizzle the melted chocolate over the top for an extra touch of sweetness and aesthetic appeal.
Step 7. Allow the mixture to cool completely in the baking dish. This is an important step, as it will help the bars firm up. You’ll know they’re ready when they feel set and less sticky to the touch.
Step 8. Once cooled, lift the granola bars from the dish using the parchment paper (if used). Cut into squares or rectangles with a sharp knife. You should feel a slight firmness as you cut through the bars, indicating that they have set well.

Serving Suggestions
These granola bars can be an excellent breakfast option when you’re short on time; simply pair them with a piece of fruit or yogurt for a satisfying start to your day. They work wonderfully as a mid-afternoon snack, offering a boost of energy without the guilt. These bars are also great for family meals, perfect for packing in lunchboxes, or as on-the-go treats during outings or road trips. If any are left over, they can be enjoyed over the next few days.
Pro Tips for Best Results
- Press the mixture firmly into the baking dish; this ensures the bars hold together nicely.
- Experiment with the level of sweetener based on your preference; you can adjust the honey or maple syrup slightly without sacrificing texture.
- Make sure to allow enough cooling time before cutting to achieve clean edges on the bars.
- Store any leftovers in an airtight container to keep them fresh.
- If using chocolate for drizzling, let the bars cool before adding to prevent melting into the mixture.
Common Mistakes to Avoid
- Not pressing the mixture firmly: This can lead to crumbly bars that fall apart upon cutting. Be sure to use enough pressure to compact the mixture.
- Over-baking the bars: If you leave them in too long, they can dry out and lose their chewy texture. Keep an eye on them during the baking process.
- Skipping the cooling step: Cutting the bars before they cool fully makes them sticky and difficult to slice neatly. Allow them ample time to set.
- Using unchopped almonds: Whole almonds create a rough texture that may not bind well. Chopping them ensures even distribution throughout the bars.
- Not measuring ingredients accurately: This can affect the texture and taste. Double-check your measurements for the best outcome.
- Ignoring the drizzle step: While optional, melting chocolate adds not only visual appeal but also enhances the flavor. Consider it for a more indulgent treat.
Variations & Substitutions
For a bit of variety, consider adding dried fruits or seeds to the mixture for a different flavor profile. You could swap the semi-sweet chocolate for dark chocolate for a deeper taste. Feel free to adjust the type of nut butter or the sweetener based on your preference or pantry availability, while keeping the original structure intact.
Storage & Reheating
These granola bars can be stored at room temperature in an airtight container for up to a week. For longer freshness, keep them in the refrigerator for two weeks, and they can also be frozen for up to three months. To enjoy, simply remove from the freezer and let them thaw at room temperature or pop them in the microwave for a few seconds to soften them without compromising texture.
Frequently Asked Questions
Can I make this recipe ahead of time?
Yes, you can prepare these granola bars in advance. Once they’ve cooled, cut them into bars and store them in an airtight container. They make for a convenient snack option throughout the week.
How long does it last in the fridge?
If stored properly in an airtight container, these granola bars can last up to two weeks in the refrigerator while maintaining their flavor and texture.
Can I freeze this recipe?
Absolutely, you can freeze the granola bars. Wrap them individually in plastic wrap or place them in a freezer-safe container. They will keep well for about three months.
What can I substitute for one ingredient?
If you’re out of almond butter, another nut or seed butter can work well, just keep in mind it will alter the flavor slightly. For sweeteners, you can generally swap maple syrup for honey or agave syrup.
Why didn’t my recipe turn out as expected?
Results can vary based on ingredient measurements and baking times. Make sure to measure correctly, press the mixture firmly, and allow it time to cool before cutting to avoid dryness.
Final Thoughts
Making these almond butter granola bars is a straightforward, gratifying experience. You’re rewarded with a delicious snack that can be enjoyed at any time. Each bite offers comfort and satisfaction, whether you’re at home or on the go. Trust that with this recipe, you can create something truly enjoyable and practical for everyday moments.

Almond Butter Granola Bars
Ingredients
Base Ingredients
- 1.75 cups rolled oats provides structure and chewiness
- 0.75 cup whole almonds adds crunch and healthy fat
Wet Ingredients
- 0.67 cup almond butter binds ingredients, adds richness
- 0.33 cup honey or maple syrup sweetens and adds moisture
- 3 tablespoons coconut oil or butter, melted helps bind and adds flavor
Optional Ingredients
- 0.33 cup semi-sweet chocolate, chopped or chips contributes sweetness and luxury
- melted chocolate optional, for drizzling
Instructions
Preparation
- Begin by combining the rolled oats and whole almonds in a mixing bowl. Stir them together.
- In a separate bowl, mix the almond butter with honey or maple syrup until smooth.
- Pour the melted coconut oil or butter into the almond butter mixture and mix thoroughly.
- Combine the wet mixture with the dry ingredients and fold together until evenly coated.
- Prepare your baking dish by greasing it lightly or lining it with parchment paper.
- Press the granola mixture firmly into the dish in an even layer.
- If desired, melt the chocolate separately for drizzling after baking.
- Allow the mixture to cool completely in the baking dish before cutting.
- Once cooled, lift the granola bars from the dish and cut into squares or rectangles.


