
There’s something reassuring about having a simple recipe on hand that suits both busy mornings and relaxed weekends. These oatmeal bars blend wholesome ingredients to create a satisfying and nourishing snack. Whether you’re looking for a quick breakfast, an after-school treat for the kids, or something comforting to enjoy during quiet moments, this recipe delivers flexibility without fuss. With each bite, you can appreciate the balance of flavors and textures, inviting you into an enjoyable cooking experience.
Why You’ll Love This High Protein Oatmeal Bars
These high protein oatmeal bars are genuinely easy to prepare and reliable for a busy lifestyle. They offer comfort through their balanced flavors, utilizing oats and a touch of sweetness. Made with straightforward, wholesome ingredients, this recipe provides a practical addition to your everyday meals, making it a go-to option for breakfast or snacks.
Kitchen Tools You’ll Need
- Mixing bowl
- Baking dish
- Spoon or spatula
- Measuring cups
- Measuring spoons
Ingredients
- 1 ½ cups old-fashioned rolled oats (for texture and chewiness)
- ¼ cup oat flour, spooned & leveled (homemade or store-bought) (adds moisture and lightness)
- ⅓ cup protein powder (unflavored whey recommended) (boosts protein content)
- ½ teaspoon salt (enhances overall flavor)
- ¼ cup melted coconut oil (provides moisture and richness)
- ¼ cup maple syrup or honey (for sweetness and moisture)
- 1 tablespoon brown sugar or coconut sugar (adds depth of flavor)
- 1 teaspoon vanilla extract (brings aromatic sweetness)
- 2 – 4 tablespoons mini chocolate chips (plus more for melting) (offers sweetness and richness)
- flaky salt (optional) (for a contrasting finish)
How to Make High Protein Oatmeal Bars
Step 1. Begin by preheating your oven to 350°F. This ensures that the bars will cook evenly as the oven reaches the right temperature, promoting a nice texture and helping the ingredients meld properly.
Step 2. In a mixing bowl, combine the rolled oats, oat flour, protein powder, and salt. Stir these ingredients until they are evenly mixed. It’s important to do this step well, as a uniform mix ensures each bar has consistent flavor and texture.
Step 3. Melt the coconut oil gently if you haven’t already, then add it to the dry ingredients along with the maple syrup (or honey), brown sugar (or coconut sugar), and vanilla extract. Mix everything together until the ingredients are fully combined, and you achieve a consistent batter that clings together somewhat.
Step 4. Incorporate the mini chocolate chips into the mixture, folding them in with a spatula. This allows the chocolate chips to distribute evenly throughout the batter, so each bite offers a sweet touch and rich flavor.
Step 5. Transfer the mixture to a greased baking dish, spreading it out into an even layer. Gently press down to pack it in a bit; this helps the bars hold together better once baked. Be mindful to achieve an even thickness throughout for consistent cooking.
Step 6. Bake in the preheated oven for about 20 to 25 minutes, or until the edges turn a light golden brown. You’ll see a subtle shift in color which signals they are nearly done. A gentle press can also show if they’ve set well; they should feel firm but still slightly soft.
Step 7. Once baked, remove the dish from the oven and let it cool completely in the pan. This step is crucial since it allows the bars to firm up further as they cool, making them easier to slice into individual pieces.
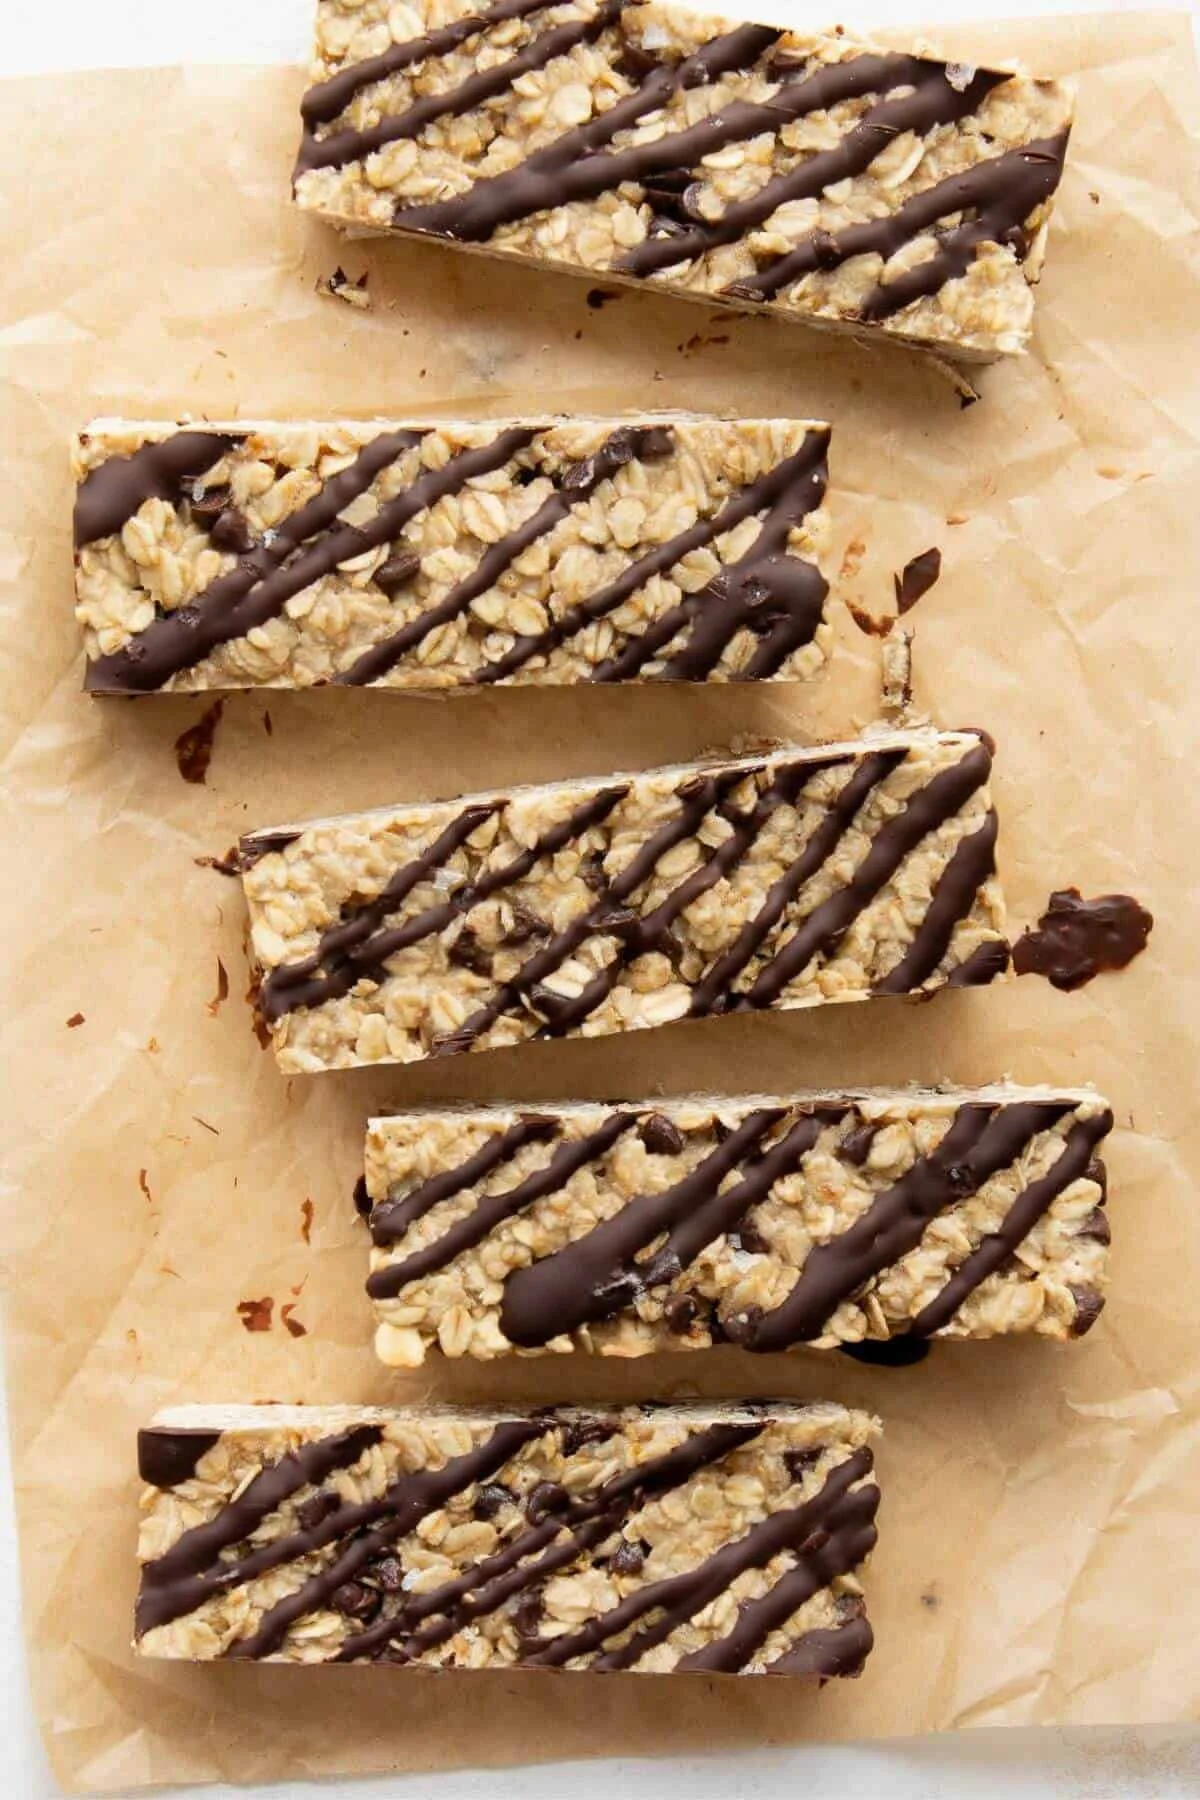
Step 8. After the bars have cooled, slice them into desired portions. If you like, you can melt a few extra chocolate chips to drizzle over the cut pieces, adding an appealing look and a bit more sweetness to each bar.

Serving Suggestions
These oatmeal bars are versatile. Enjoy them as a quick breakfast option alongside a cup of coffee or tea. They’re also ideal for a nutritious snack, especially for kids after school. If you’re preparing meals for the family, incorporate them into lunchboxes for a delicious treat. Any leftovers can be enjoyed throughout the week, making them a practical addition to your meal planning.
Pro Tips for Best Results
- Ensure your dry ingredients are well-mixed before adding wet elements to achieve uniform flavor.
- Adjust the sweetness by tasting the batter before baking; you can add more or less sweetener based on personal preference.
- Use parchment paper in the baking dish for easier removal of the bars once cooled.
- Allow bars to cool completely for better slicing; warm bars may crumble easily.
- Incorporate a variety of mix-ins like nuts or seeds for added texture if desired.
- Store cooled bars properly to maintain freshness and avoid drying out.
Common Mistakes to Avoid
- Not measuring ingredients accurately: Improper measurements can lead to inconsistent texture and flavor. Use the level spoon method for dry ingredients, especially the oat flour, to ensure you’re adding the correct amounts.
- Skipping the cooling time: Cutting bars while warm can cause them to crumble. Be patient and let them cool completely, allowing them to firm up for cleaner cuts.
- Overbaking the bars: Leaving them in the oven too long can result in a dry texture. Watch for that light golden color on the edges and check for firmness.
- Using flavored protein powder: Unflavored protein powder is recommended here; using flavored options might alter the taste profile, impacting the overall flavor balance.
- Forgetting to grease the dish: Not preparing the baking dish can make it difficult to remove the bars. Grease it well or line it with parchment paper to ensure easy removal.
- Mixing wet and dry ingredients too vigorously: Doing this can lead to a dense texture. Gently fold the wet ingredients into the dry to maintain a light texture.
Variations & Substitutions
To provide variety, consider adding in some chopped nuts for crunch or alternating flavors of the protein powder. You might also experiment with different sweeteners like agave syrup or date syrup based on your preference. Adjusting the amount of chocolate chips can create extra flavor diversity, and if you want, try adding spices like cinnamon for warmth.
Storage & Reheating
For storage, keep the bars in an airtight container at room temperature for several days. If you prefer longer-term storage, they can be refrigerated, where they will stay fresh for about a week. Freezing is also possible; wrap individual bars in plastic wrap and store them in a zip-top bag in the freezer. To reheat, simply microwave a bar for a few seconds to restore its warmth and softness, preserving the pleasant texture.
Frequently Asked Questions
Can I make this recipe ahead of time?
Yes, these oatmeal bars are perfect for making ahead. Once baked and cooled, they can be stored for several days or even frozen for longer storage, making it easy to have a healthy snack ready when needed.
How long does it last in the fridge?
These bars can last about a week in the refrigerator when stored in an airtight container. This helps maintain their freshness while making them easy to grab.
Can I freeze this recipe?
Absolutely! To freeze, wrap individual bars tightly in plastic wrap and place them in a zip-top bag. They can be stored in the freezer for about three months, providing a convenient snack for busy days.
What can I substitute for one ingredient?
If you need a substitute for oat flour, you can use all-purpose flour or ground almonds. Keep in mind that this may slightly alter the texture and flavor but will still work well in the recipe.
Why didn’t my recipe turn out as expected?
There could be a few reasons. Common issues include inaccurate measurements, not mixing ingredients thoroughly, or skipping the cooling step. Always follow the instructions carefully for the best results.
Final Thoughts
Making these high protein oatmeal bars is a straightforward process that yields satisfying snacks for various occasions. With their hearty texture and balanced sweetness, they’re a comforting choice that can easily fit into any routine. Enjoy crafting this recipe and savoring the simple pleasures of sharing delicious home-cooked treats.

High Protein Oatmeal Bars
Ingredients
Dry Ingredients
- 1.5 cups old-fashioned rolled oats for texture and chewiness
- 0.25 cup oat flour, spooned & leveled adds moisture and lightness
- 0.33 cup protein powder unflavored whey recommended to boost protein content
- 0.5 teaspoon salt enhances overall flavor
Wet Ingredients
- 0.25 cup melted coconut oil provides moisture and richness
- 0.25 cup maple syrup or honey for sweetness and moisture
- 1 tablespoon brown sugar or coconut sugar adds depth of flavor
- 1 teaspoon vanilla extract brings aromatic sweetness
Add-Ins
- 2-4 tablespoons mini chocolate chips plus more for melting, offers sweetness and richness
- flaky salt optional, for a contrasting finish
Instructions
Preparation
- Preheat your oven to 350°F.
- In a mixing bowl, combine the rolled oats, oat flour, protein powder, and salt.
- Melt the coconut oil gently and add it to the dry ingredients along with the maple syrup (or honey), brown sugar (or coconut sugar), and vanilla extract. Mix until combined.
- Incorporate the mini chocolate chips into the mixture, folding them in evenly.
- Transfer the mixture to a greased baking dish, spreading it into an even layer and pressing down.
Baking
- Bake in the preheated oven for about 20 to 25 minutes, or until the edges turn a light golden brown.
- Remove from the oven and let it cool completely in the pan.
- Once cooled, slice into desired portions and top with melted chocolate if desired.


